Tag: Visual edit |
Tag: Visual edit |
||
| Line 98: | Line 98: | ||
'''Boss:''' Shogun Warriors, Shogun Warlord |
'''Boss:''' Shogun Warriors, Shogun Warlord |
||
| − | *'''Mission Complete:''' Get under one hundred points (Katina). |
+ | *'''Mission Complete:''' Get under one hundred points and take out Shogun Warriors and Shogun Warlord (Katina). |
| − | *'''Mission Accomplished:''' Get one hundred points or over (Aquas). |
+ | *'''Mission Accomplished:''' Get one hundred points or over and Take out Shogun Warriors and Shogun Warlord (Aquas). |
=='''''Level 3.'''''== |
=='''''Level 3.'''''== |
||
Revision as of 23:44, 14 February 2019


The Missions in the Single Player mode of Star Fox 64 and the 3DS rerelease. There are twenty five possible paths leading to Venom, fourteen of these paths lead to the Robot Andross via Bolse. The other eleven lead to the True Form Andross via Area 6 and therefore the better ending, as seen in the stages list below.
Level 1.
Corneria is the first mission of the game. There are two possible routes in the level. The Mission begins at the seas of Corneria, where Fox will fly over towards the capital Corneria City, repel the invaders in the city, and proceed past it to fight a boss.. Wherever the flight path proceeds next will be determined by gameplay.
Mayday:
- Slippy will be tailed by a Granga Fighter near the start after Peppy tells him to get back into formation.
- Falco will be tailed by three Granga Fighters after the checkpoint. Saving Falco is vital if the player desires to reach Sector Y.
- On the easy route, Peppy will be tailed by a Firebird near the waterfall after passing the stone arches as the Attack Carrier flies overhead.
Easy Route
In the Mission Complete route, the priority is to defeat Granga. Upon clearing this objective, the player is only led to Meteo, and starts on the easy path. It is not possible to reach Sector Y if Falco was not saved from tailing enemies, as his absence will cause the Attack Carrier to go unnoticed and will cancel the choice of routes on the Lylat Map, forcing the path to head for Granga and Meteo.
- Mission Complete: Go through this stage without saving Falco, save Falco without going through all the water arches, and Falco says "Lets go!" and Fox says “All range mode.”, ending in a fight with Granga (Meteo).
Hard Route
The alternate Mission Accomplished route is accessed by flying under several arches found on the level. After saving Falco from three tailing Granga Fighters, he will show the hidden path to the player. He will then lead the player through a waterfall just beyond the seas behind Corneria City. After fighting through more enemies, the player will begin a battle with the alternate boss, the Attack Carrier. Upon defeating the boss, the player will able to either go to Sector Y, and begin the hard path, or choose Meteo.
- Mission Accomplished: Save Falco, fly through all arches, then fight the Attack Carrier (Sector Y).
Level 2.
Meteo can be approached from Corneria whatever the outcome of the previous mission, but the route will automatically go straight to Meteo is the Attack Carrier wasn't fought. There are two possible outcomes of the mission, where taking the Warp Zone route results in "Mission Accompished" and the route will proceed to Katina. But if the Warp route is skipped or failed, the Meteo Crusher must be fought and the route will go only to Fichina, earning a "Mission Complete".
Mayday:
- Peppy will be tailed by Venom Space Fighters after the first Flip Bots and ROB 64's Supply Container are passed.
- Slippy will be tailed by Flip Bots before reaching the Warp Rings.
Easy Route
- Mission Complete: Fight the Meteo Crusher (Fortuna/Fichina).
Medium Route
Boss: None
- Mission Accomplished: Go through all blue warp rings and warp (Katina).
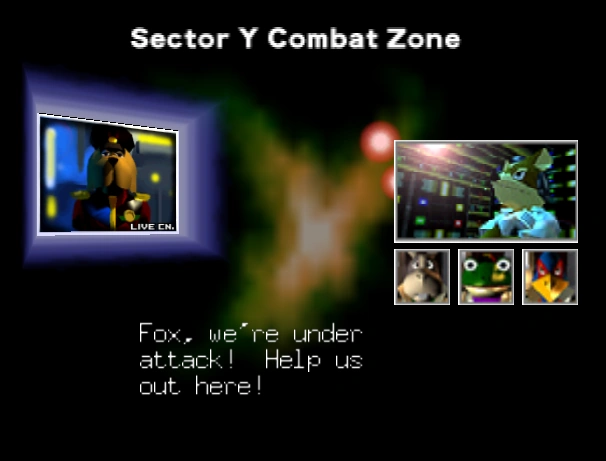
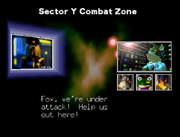
Sector Y: Combat Zone; Fierce Melee
Sector Y's Intro.
Vehicle: Arwing
Type: Corridor Mode / All-Range Mode
Sector Y can only be approached from Corneria after defeating the Attack Carrier. It is impossible to reach this sector without Falco being active, because he was the one to find the Attack Carrier. The objective is to try and rack up 100 hit points so that the route will travel to the Aquas Ocean, if not, the path will go to Katina
A battle is occurring in Sector Y. General Pepper asks Star Fox to win it. Technically, this is the only level with three bosses - you fight two robot shoguns and one piloted Shogun. Depending on the player's actions in the level in Star Fox 64 and 3D, at certain points, Falco or Peppy will remark on Fox's progress at various points. If the player managed to shoot down few enemies by the time the player gets through the first Grazan battleship, Falco will call in and complain that Fox was supposed to shoot down most, if not all of the enemy forces. If the player shot down most if not all the enemies by that time, Peppy will call in and congratulate Fox, telling him to keep up the good work. Likewise, nearing the end of the level (specifically, right after Fox declares "We're gonna break through that fleet") if the player has less than 90 points, Falco will ask dejectedly if that was the best Fox could muster, while if the player has more than 90 points, Peppy will declare that Fox had become a better pilot.
Mayday:
- Slippy will be tailed just after passing the ruined Cornerian Battleship on the upper route
Enemies:
Boss: Shogun Warriors, Shogun Warlord
- Mission Complete: Get under one hundred points and take out Shogun Warriors and Shogun Warlord (Katina).
- Mission Accomplished: Get one hundred points or over and Take out Shogun Warriors and Shogun Warlord (Aquas).
Level 3.

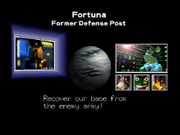
Fortuna's Intro (Fichina).
Fichina: Former Defense Post; Enter Star Wolf
Vehicle: Arwing
Type: All-Range Mode
Fichina is reached only from the Meteo Asteroid Field. The outcome of the mission will determinate the next route. If the Star Wolf team are all shot down before time runs out and the bomb is defused, the choice of route will range from Solar to Sector X, but if Star Wolf win the dogfight, the choice of routes will be cancelled and the path will go straight to Sector X only. If the flight path to Venom includes Sector Z to Bolse, Star Wolf will reappear and Fox will groan at facing them a second time.
Mayday: Random: Falco, Peppy, or Slippy
Enemies:
Boss: Star Wolf team's Wolfen
Depending on whether Peppy is present during the mission or undergoing repairs, Pigma's introduction line once Star Wolf arrives will vary. If Peppy is present, Pigma will greet him and say "Long time no see!" in a taunting manner. If Peppy is absent, Pigma will instead chuckle to himself and comment that he will be getting a whole lot of cash if they managed to defeat Star Fox.
- Mission Complete: Leave Star Wolf alone and let the bomb explode (Sector X).
- Mission Accomplished: Take out Star Wolf and let Fox take care of the bomb (Solar).
- Note: Fichina is mistakenly called Fortuna in the English version of the game. The actual Fortuna is actually an entirely different planet. This error is corrected in every game that follows, including the 3DS release.
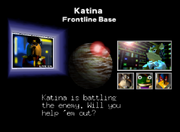
Katina's Intro.
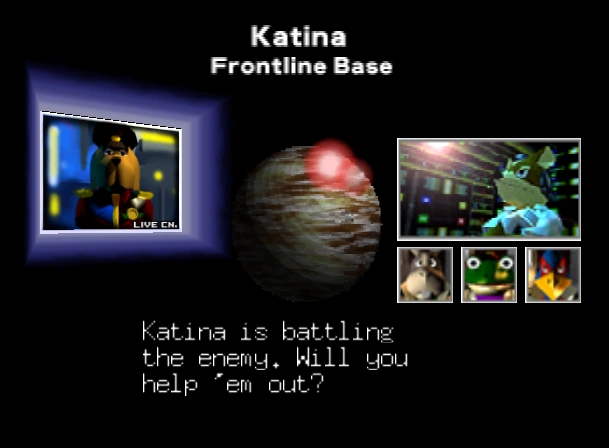
Katina: Frontline Base; Reunion
Vehicle: Arwing
Type: All-Range Mode
Katina can be approached from Sector Y by choice, but not earning 100 Hit points will lead directly to Katina. At the Meteo Asteroid Field, flying through the seven Warp Gates and piloting through the Warp Zone will allow a choice of route between Katina and Fichina. Completing the mission on Katina by destroying Saucerer before it ignites its weapon will allow a choice between Solar and Sector X, but if Saucerer destroys the base then the route will direct to Sector X only. Either way, Bill Grey will track the Star Fox Team to their destination and return the favour by helping him and his units out. If the player succeeds in destroying the mothership's core without shooting/destroying a Cornerian ship, instead of Bill saying "Take care, Fox" with Fox replying "You too....Bill", Bill will say "I'm glad we're on the same team, Fox" and Fox will reply "You owe me one." and for every Cornerian ship shot down, there will be one less Cornerian ship flying behind you when you finish the level. Aside from Fox, the only Star Fox team member who may accidentally shoot down a friendly aircraft is Peppy Hare who realises by saying: "Enemy down... wait, that was one of ours!"
Enemies:
Boss: Saucerer
- Mission Complete: The mothership's core is not destroyed in time and it destroys the base. (Sector X)
- Mission Accomplished: The mothership's core is destroyed in time and the Mothership falls to the ground before exploding. (Solar)
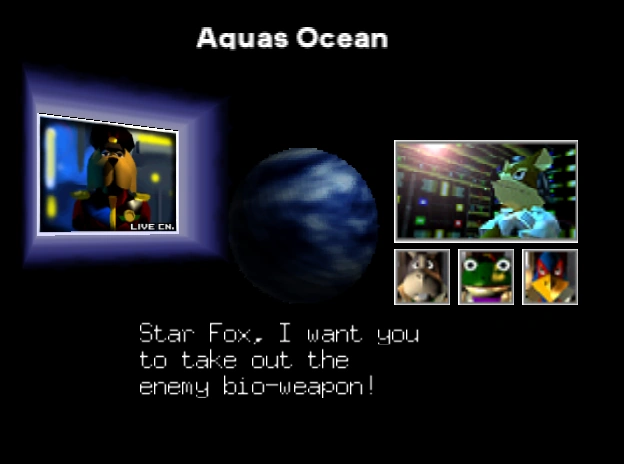

Aquas's Intro.
Aquas Ocean; Terror of the Deep
Vehicle: Blue-Marine
Type: Corridor Mode
Aquas is only reached from Sector Y after getting over 100 hit points. The Blue-Marine is used for the first and only time in its history to search for and destroy Bacoon and the other hostile sea lifeforms. The route from the planet is fixed and will go straight towards Zoness. Zoness cannot be reached from Katina or Fichina, so traveling to Aquas is necessary to reach Zoness.
Enemies:
- Aquas Squid
- Starfish
- Shell Missiles
- Clams
- Giant Spindly Fish
- Garoas
- Angler Fish
- Aquas Ruins
- Sculpins
- Jelly Angler
- Boulders
Boss: Bacoon
- Mission Accomplished: Destroy the underwater bio-weapon Bacoon (Zoness).
Level 4.
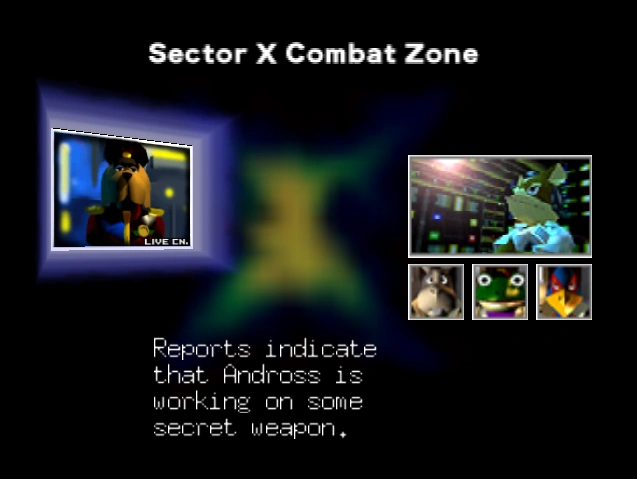

Sector X's Intro.
Sector X: Combat Zone; Mystery of the Space Base
Vehicle: Arwing
Type: Corridor Mode
Sector X is approachable from Fichina or Katina. If the previous missions had been met with "Mission Accomplished", then the route can be taken to Solar or Sector X by choice, but if they were met with just "Mission Complete" then the choice of route will be cancelled and go straight to Sector X. There are three different routes that can lead out of Sector X to either Sector Z by the Warp Gate on the left side path, or Macbeth or Titania by battling Spyborg. If Slippy is knocked into space by Spyborg, the route choice will be cancelled and only go to Titania, but if Spyborg was defeated quickly enough, Slippy will still crash land on Titania if the route is chosen. If the route taken to Sector X included Katina, Bill Grey will appear to return the favour made for helping the Bulldog and Husky Unit's attacks against Saucerer, by flying on the left side path to help open the warp gate. But if the route taken to Sector X did not include Katina, Bill won't know where Star Fox had gone to so he won't appear at all.
Mayday:
- Peppy will be tailed after passing the large, floating robotic arm which surprises Falco
- On the right side route, Peppy will get tailed after he asks Fox to back him up
Enemies:
- Vipers
- Canines
- Borzoi Fighters
- SX Space Mines
- Spy Eyes
- SX Laser
- Killer Bees
- Web Ships (Warp Zone)
- Butterfly Fighters (Warp Zone)
Boss: None
- Mission Accomplished (1): Shoot and go through all four gates and warp (Sector Z).
Boss: Spyborg
- If Slippy was put out of commission in an earlier mission, he'll enter the Sector X mission nearing the half point.
- While risky, if the player is concerned about Medal requirements, it is recommended that they go after Spyborg.
- Mission Accomplished (2): Take out Spyborg quickly before Slippy gets knocked out (Macbeth).
- Mission Complete: Slowly take out Spyborg and get Slippy slapped to Titania. Slippy crash-lands on Titania.
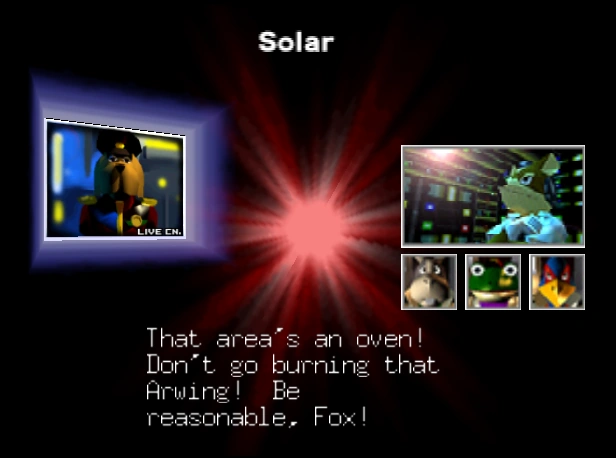

Solar's Intro.
Solar: Out of the Frying Pan...
Vehicle: Arwing
Type: Corridor Mode
Solar is the fourth mission on the medium route, where it can be approached from Fichina and Katina. If the previous missions have met with only "Mission Complete", the choice of routes on the map will be cancelled and go straight to Sector X instead. Should the route to Solar include Katina, since you helped Bill Grey destroy Saucerer and defeat the Venom invasion force, he is determined to risk his life and repay the favour. He'll appear to lend a blaster in thanks for helping out. Bill will swoop down in front of you during the first half of your sizzling journey across Solar's turbulent surface. If you follow his fighter through the searing heat, he'll drop Supply Rings and a Laser Upgrade in front of your Arwing. You'll need these provisions- especially the Shield Rings- to navigate the treacherous swells gathering on Solar's hot horizon. However, if the route taken to Solar did not include Katina, Bill won't know where Star Fox had gone to so he won't appear at all. The conditions will slowly eat up the shields from either distance, but will not destroy the Arwing. After defeating Vulcain, the route will only lead to Macbeth.
Mayday:
- Falco will be chased by Gores just after the checkpoint.
- Soon after Falco's plight, Slippy will also be tailed.
Enemies:
Note: Falco, Peppy and Slippy only take damage when they're talking.
Boss: Vulcain
- Mission Accomplished: Take out Vulcain (Macbeth).
Zoness's Intro.
Zoness: Toxic Waste Area; Invasion Aftermath
Vehicle: Arwing
Type: Corridor Mode
Zoness is only approached from Aquas. The following route is determinate by the result of avoiding detection by the Radar Buoys. If you can pass Zoness without being detected, you'll then rendezvous with ROB 64 and Great Fox in Sector Z. You should be able to take cover there with the amount the space junk. If Andross's forces detect you, you'll have to divert your attack to a different front. Macbeth, Andross's supply depot, would be the perfect place to deal him a crippling blow and turn the tide of the war.
Mayday:
- Slippy will be tailed just after passing the last Kani
- Katt will get tailed just after passing the Todora after she appears
- Falco will be tail just after destroying another enemy tanker
Enemies:
- Z-Serpents
- Z-Gulls
- Kani
- Troikas
- Radar Buoys
- Todora
- Bandit Fighters
- Venomian Tankers
- Scout Pods
- Patrol Boats
Boss: Sarumarine
- Mission Complete: If you fail to destroy any of the searchlights and are spotted, Fox responds with: "Uh Oh, have we been spotted?" - the searchlights will turn from yellow to red-orange and more enemies will appear. (Macbeth)
- Mission Accomplished: If all searchlights are destroyed, there will be fewer enemies. (Sector Z)
Note: The destruction of any searchlight by any team member, or Katt, yields HIT+2. However, if you are spotted, searchlights destroyed afterwards will not yield any hits.
Level 5.
Titania's Intro.
Titania: Arid Desert; The Search for Slippy
Vehicle: Landmaster
Type: Corridor Mode
Titania is approached only from Sector X on the easy path route. Meeting the previous mission with a "Mission Accomplished" after avoiding the Warp Zone and destroying Spyborg will allow a choice of routes between Titania and Macbeth, but if Slippy is knocked aside by Spyborg, the route choices will be cancelled and go straight to Titania. Clearing this level will cause the map's route to go straight to Bolse only.
Mayday:
- Falco will be chased by a Granga just ahead of the canyon near the ancient ruins
Enemies:
- Desert Crawler
- Bomber
- Desert Rover
- Land Mine
- Granga Fighters
- Tripod Fighters
- Titanian Automated Defense Turret
- Rascos
Boss: Goras
- Mission Accomplished: Save Slippy and take out Goras (Bolse).
Note: This level is thought, by some, to be harder than Macbeth due to the massive storms of enemies (some with tough armor), which makes it the game's de facto easy path level.
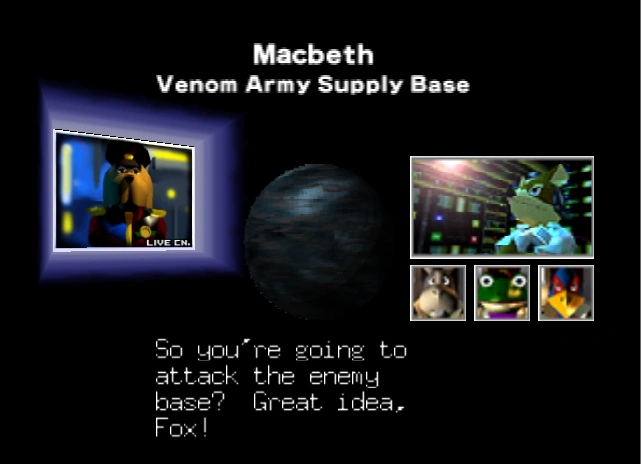

Macbeth's Intro.
Macbeth: Venom Army Supply Base; The Forever Train
Vehicle: Landmaster
Type: Corridor Mode
Macbeth can be approached from Sector X, Solar and Zoness. If Sector X is met with a "Mission Accomplished" from destroying Spyborg, the routes can be chosen between Macbeth and Titania, but if Slippy crashes through space the route choice will be cancelled and go straight to Titania only. The route from Solar will go straight to Macbeth only. If the Radar Buoys spotted Star Fox on Zoness, the route will be forced to go to Macbeth only, but if all the searchlights were taken out without setting them off, the routes can be chosen at will. Arriving from Zoness will trigger the arrival of Katt Monroe who will assist in taking down fighters and the track switches. But if the route taken to Macbeth did not include Zoness, Katt couldn't determine where Star Fox went to therefore she won't appear at all. The outcome of this mission is determinable by either destroying Mechbeth and heading to Bolse, or derailing the Forever Train and permitting a choice of route between Area 6 and Bolse.
Mayday:
- Falco will be chased by a Bandit in the cayon just ahead of the train tunnel
- Randomised during Mechbeth battle: Falco, Peppy, or Slippy (only if the eight switches were missed)
Enemies:
- Cannon Cars
- Defense Towers
- Granga Fighters
- Automated Rail Guns
- Tripod Fighters
- Ore
- Bandit Fighters
- Liquid Fuel Carrier
Boss: Mechbeth (Easy Path)
- Mission Complete: Take out the entire train by destroying Mechbeth (Bolse).
- Note: If ten minutes have passed, the train will pass the supply depot, and the Forever train engineer, having said: "You're too slow. Time to end this!", will command Mechbeth to fly directly into the Landmaster, instantly defeating you.
Boss: Macbeth Weapons Factory (Hard Path)
- Mission Accomplished: Shoot all eight switches and then the switchboard's lever to shift the train tracks and cause the train to crash into the fuel bunker (Area 6).
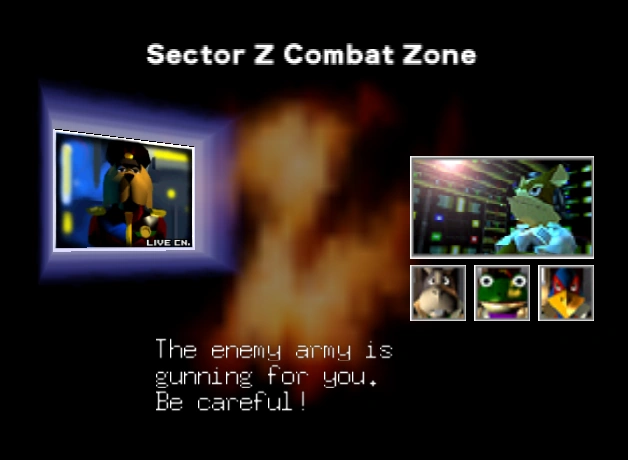
Sector Z's Intro.
Sector Z: Combat Zone; The Ambush of Great Fox
Vehicle: Arwing
Type: All-Range Mode
Sector Z is only approached from Zoness, or if the Warp Zone was taken from Sector X. This is the only mission in the game to feature the Great Fox in the stage, (although it can give cover fire in Area 6). The objective is to destroy the onslaught of Invader III fighters and space junk, and protect Great Fox from three waves of Copperhead missiles. Falco, Peppy and Slippy will each take shots at destroying the missiles if they are not being tailed. If the taken flight route included Zoness, Katt Monroe will warp in just in time to help take out the third wave of missiles after tracking Star Fox from Zoness. If the route was from Sector X instead, Katt won't know where Star Fox had gone to, so she won't appear at all. Destroying all six Copperheads will enable an attack run on Venom's air defense zone and the route will proceed to Area 6. But if Star Fox fails to destroy the Copperhead Missiles in time, the missiles will come in contact with the Great Fox. While the Great Fox ultimately survives the attack, one of the wings are severely damaged and broken, cancelling the choice of routes and forcing the Star Fox team to travel to Bolse.
Sector Z is considered by most expert players to be one of the most difficult levels in Star Fox 64 to obtain a medal on due to several factors. Ironically, one of these factors is that the wingmen AI is more capable of taking down enemy fighters and the Copperhead missiles than normal, further exacerbated should they reach this level from Zoness since Katt Monroe will be there too, and their kills to do not count towards the player's total. Furthermore, they will have to try to balance raising their points total by shooting down enemies with dealing with the missiles (Which give out 10 points each provided the player destroys them) if they wish not for the level to end early and if they wish to go to Area 6. The required points total to obtain this medal is 100.
- During the ambush of Great Fox, if Peppy, Slippy or Falco are forced to retreat because their shield gauges are down, they will fly directly to the Great Fox's rear hangar. This only happens in Sector Z.
Mayday:
- Randomised
Enemies:
- Invader III
- Space Junk Crates
Boss: Copperhead missiles
- Mission Complete: Let one of the missiles hit Great Fox (Bolse).
- Mission Accomplished: Destroy all six missiles (Area 6).
Note: During the mission, your Arwing's shield and wings can be completely repaired by flying into the back entrance of the Great Fox. Note: Each missile you destroy gives HIT+10. Missiles destroyed by teammates, however, will not yield any hits. Note: There are ten asteroids scattered around the stage - destroying one yields HIT+2.
Level 6.
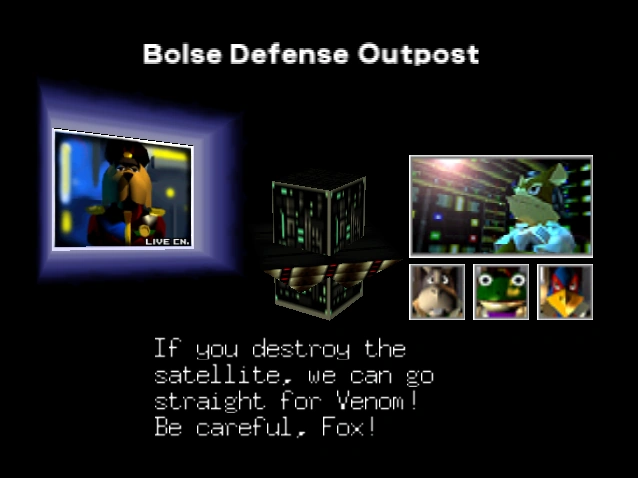
Bolse's Intro.
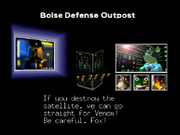
Bolse: Defense Outpost; The Last Hurrah
Vehicle: Arwing
Type: All-Range Mode
Bolse serves as one of the two possible penultimate levels. It can be approached from Sector Z, Macbeth and Titania. With the exception of Titania, if the previous missions have met with a "Mission Complete", the choice of routes will be cancelled and automatically lead to Bolse. You have to destroy the Bolse defense satellite in order to reach Venom. After taking down the shield that's guarding the core and the Bolse Fighters, Star Wolf appears if Fox has not defeated them before on Fichina. If he did, he then just needs to shoot the many yellow spots on the massive enemy core and decimate the satellite.
Mayday:
- Randomised: Falco, Peppy, or Slippy
Enemies:
Boss: Bolse's Core
Boss: Star Wolf (varies)
- Star Wolf will arrive at Bolse if the player did not travel through Fichina and arrived from Sector Z, or failed to destroy all the Star Wolf ships in that level or both. In the latter scenario Fox will groan at facing them for a second time.
- Mission Accomplished: Destroy the Bolse satellite core (Venom).
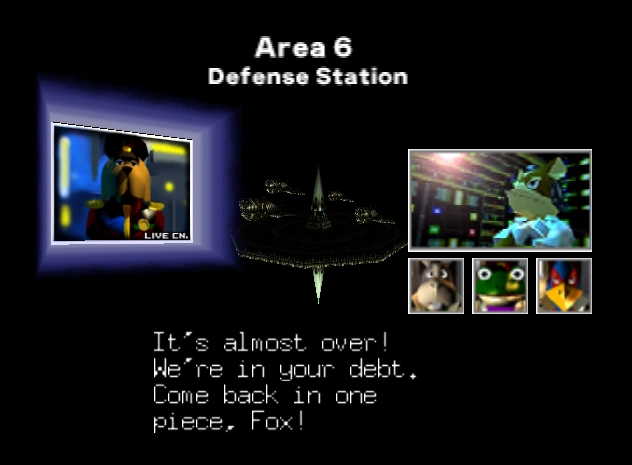

Area 6's Intro.
Area 6: Defense Station; Through the Middle
Vehicle: Arwing
Type: Corridor Mode
Area 6 is approachable from Sector Z or Macbeth if the previous missions have been met with "Mission Accomplished", if not then the route will proceed to Bolse instead. The route going through Area 6 is arguably tougher than the one going past Bolse defence station, but it will take you directly to the entrance of Andross's lair, avoiding a lot of the planet side defences.
This is the last outpost before you reach Venom. The Star Fox team flies straight through the middle of Andross' Defense Fleet. After making it through the 3 lines of defense, Fox destroys the planet-crusher Space station named Gorgon before flying on to Venom.
Mayday:
- Falco will be chased by Vipers just after the Space Mines
- Peppy will be tailed by heat seeking missiles after the five Ninjin Missiles
- Slippy will be tailed by a Butterfly after ROB gives cover fire a second time
Enemies:
- Umbra-class Defense Stations
- Vipers
- SX Space Mines
- Butterfly Fighters
- Harlock-class Frigates
- Missiles
- Ninjin Missiles
- Star Warriors
- Killer Bees
- Venom Space Fighters
- Triangle Fighters
- Rock Gunners
- Zeram-class Cruisers
Boss: Gorgon
- Mission Accomplished: Destroy the planet-crusher Gorgon (Venom II).
Final Level

Venom's first wave of fighters.
Venom
The planet can be reached from two routes. The "easy route" approaches Venom following the destruction of the Bolse defense satellite - the player will have still have to travel some distance on Venom to Andross' base. The "harder route" (in both difficulty and name) approaches Venom from a different angle, after a massive battle with the planet's primary defense fleet at Area 6 - the player will arrive directly at Andross' base. The routes are named as Venom and Venom II in Star Fox 64 3D's score attack mode.
Battle with Andross: Venom; Andross' Homeworld
Vehicle: Arwing
Type: Corridor Mode
The Star Fox Team fights their way across the surface of Venom, through wave upon wave of enemy fighters. They fly through a temple, defeating a rock golem boss, before reaching Andross' base. Fox declares that he'll "go it alone from here." and plunges into the depths of the base, deep below the crust of Venom. At the end of a long tunnel, Fox fights Andross. Fox defeats him before fleeing the base as it begins to explode. However, it is revealed at the end of the credits that Fox only defeated an android form of Andross, and Andross' image is seen at the end laughing maniacally which means he still lives. One of the wingmates says “Fox!”
Enemies:
- Venom Fighters
- Dragon Fighters
- Tripod Fighters
- Venomian Landmasters
- Firebirds
- Bandit Fighters
- Blockers
- Stone Columns
- Pillars
- Monuments
Boss: Golemech
Boss: Andross / Robot Andross
Venom: Andross' Homeworld; The Final Battle
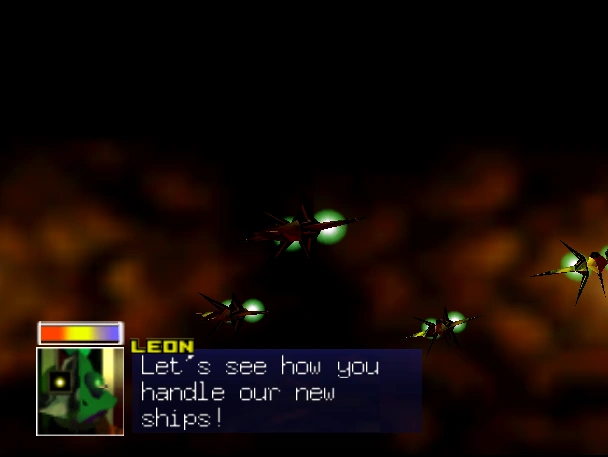
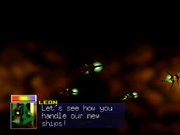
Star Wolf arrive in their new ships.
Vehicle: Arwing
Type: All-Range Mode / Corridor Mode
The Star Fox team flies down directly over Andross' base. Before they can enter, however, a disfigured Star Wolf team arrives in their new ships, the Wolfen II's. The Star Fox team is forced to fight them before they can proceed. Since the Wolfen II's are heavily upgraded, bombs and lock-on lasers have no effect. Wolf attacks Fox, Leon attacks Falco, Pigma attacks Peppy, and Andrew attacks Slippy. After Star Wolf has been shot down, Fox declares that he'll "go it alone from here" and plunges into the depths of the base deep below the crust of Venom. One of the wingmates says “Fox!”
Boss: Star Wolf team's Wolfen II
Fox flies through a maze of tunnels and corridors before reaching Andross and fighting him. After destroying his disembodied hands and head, Andross's 'True Form' is revealed to be a gigantic brain with bio-mechanical eyes. Moving into all-range mode, Fox destroys the eyes and then the brain. As he dies, Andross declares: "If I go down, I'm taking you with me!" and then self-destructs. Fox screams at his impending doom, but, out of nowhere, the supposedly dead James McCloud appears to lead Fox out of the maze of tunnels. If Fox takes a wrong turn at any time, he runs into the fireball coming the other way and is killed. As they leave the base, James praises Fox's efforts before disappearing, leaving Fox to wonder if it really was his father or not. Adding to the mystery, if one pays close attention to the whole screen before the credits, one can see a light-source moving against the background of stars, like the lights that would be mounted on a spacecraft. After the credits, 'THE END' is displayed, indicating that this is the canonical end to the game after the android Andross was destroyed.
Boss: Andross / Andross's Brain
Note: In order to enter the battle with Andross fully prepared, travel down the tunnels in this order: left, right, left, left, right, right. This should give you an upgraded shield gauge, hyper lasers, and a few bombs.
Training Mode
As a trail run intended for newcomers, Training Mode explains the gameplay basics and advanced rules. When the training begins, ROB 64 welcomes the player as they pilot an Arwing in Corridor Mode, until Yaru de Pon takes over and explains the Corridor Mode controls and gaming tips as the situations and enemies approach. Blue/White rings act as pilotage goals for objective. Flying through all 100 rings will prompt ROB to give a congratulations.
After passing the 100 rings, the vehicle will shift into All-Range mode and enter a 3D field, periodically filling up with numbers of Venom Fighters, which will not end until the player choses to quit training. Yaru de Pod will proceed to explain the necessities of All-Range Mode's features and eventually repeats randomised quotes. After earning 100 Hits, a Wolfen fighter will periodically fly into the fired and attack the player for a challenge. The Training Mode only ends when the player presses START and chooses to quit training or the Arwing is shot down.
In the N64 version of the game, the Arwing flies through a metallic city with buildings and blast doors, with Planet Corneria in the background. In the 3DS version, the Training Mode is changed to a wireframe simulation, reminiscent of the Simple Maps from the Versus Mode in Star Fox: Assault.
In the 3DS version, after quitting Training Mode, the game offers an optional Trail Run mode. Once again, the Arwing will be forced down a fixed "Corridor Mode" route, evading both stationary and moving barricades and fly to the finish while provided with three stars as health points. A star will be lost if the ship collides with an obstacle, therefore losing all three stars will result in failure. Successfully finishing the Trail Run will result in an audience applause.
Notes
- In the N64 version, gaining all the Main Game Mission's Medals unlocks the Expert Mode Missions. After gaining all Medals in Expert Mode, an alternate title screen is unlocked and both Landmasters and Pilots are useable in Versus Mode.
- This also applies to the 3DS version, with the exception of bonus Versus Mode features.


